
Ingredients:
1 boning knife or sharp paring knife
1 carving knife
Chicken breasts
Cutting board
Freezer-quality plastic storage bags
Sharpie
Directions:
Gather your utensils. Label and date your ziploc bags- things can start to look alike in the freezer!
*Left= Boning knife, Right= Carving knife (The goofy colored tape was from having to identify our personal utensils in culinary school- it's grown on me!)


Check out this price for TWELVE meals.

Label and date the bags. I mean it.

Trim all the yucky fat off the breasts using your sharp boning or paring knife.
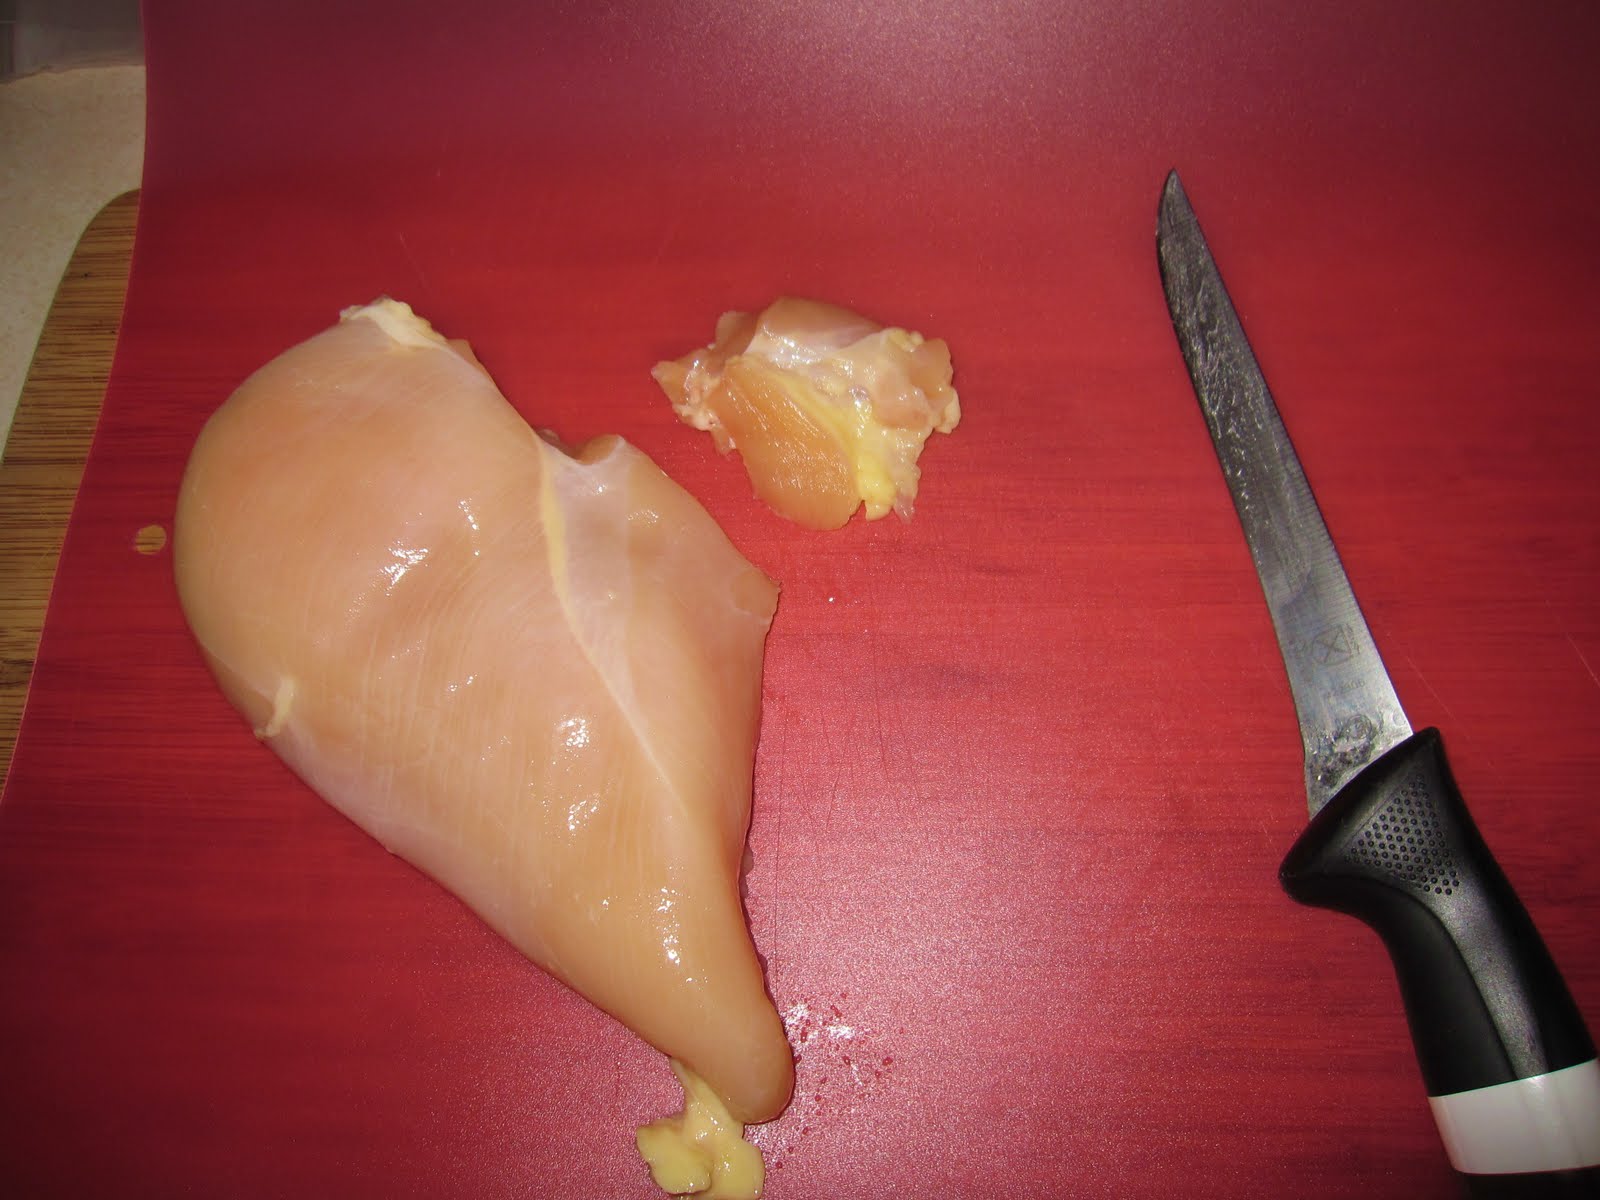


Now there's a clean, fat-free piece of chicken. Carry on for the remaining breasts.

All finished with the gross part. Now comes the magic.
Break out the carving knife. Lay your chicken breast with the thicker end aimed towards your knife.

Place your non-cutting hand firmly on top of the chicken.

Holding your knife horizontally, split the chicken breast right in half. Be very, very careful!

Ta da! Two pieces of chicken. Repeat for the remaining breasts.


Put these chicken breasts in the labeled/dated ziploc bags and store them in the freezer until you're ready to eat them. Take them out the night before or the morning of and keep them in your refrigerator to thaw out.


Trust me, you won't miss that extra quarter-inch of meat, and this is an easy way to save some dough (and calories). They cook quicker and more evenly, too. If you're squeamish about frozen meat, it is a FACT that freezing has no effect on the quality or integrity of poultry. None whatsoever. Your chicken will be as fresh when you thaw it as it was when you bought it. Happy cooking, everyone!
Cheers,
The Chef Next Door


No comments:
Post a Comment